ABN: 60 152 815 882, Ph:(03)9761 6838, Unit 13/6-7 Nicole Close Bayswater North Vic 3153 Australia,
All visits are to be by appointment, We recommend contact be made via email- info@trackart.com.au


Required tools-
3/8 drive ratchet 3/8 drive extension bar 10mm socket 14mm socket 17mm socket 6mm hex bit ⅜ socket (or 6mm allen key) 16mm combination spanner Trim removal tool (or flat blade screw driver) If fitting one eye bolt to the tunnel, you will need a drill with a 12mm drill bit. Install time- 60-90min
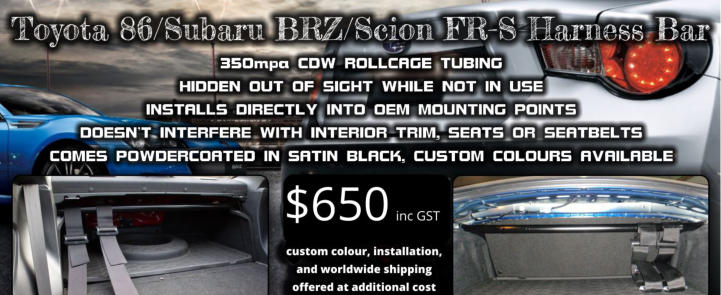
This harness bar kit is a direct bolt in, and picks up the OEM
rear seat belt points as well as the suspension points in the
boot floor. Made from 5mm steel plate and CDW350 grade roll
cage tube, this kit is both strong and user friendly.
Requiring no trim modification, this kit can be installed in
60-90min (first time install) with relatively basic tools found in
most garages and basic workshops.
Standard kit comes powder coated satin black with one
eye bolt mounting kit and stepped spacer to complete ALL of
the mounting points required to fit your 4 point race harness.
The harness IS NOT included in this kit, but can be
purchased in addition to. All new harnesses that we have seen
on the market come with 25mm 7/16 eye bolts. You will use
these eye bolts in addition to the harness bar kit.
Should you wish to mount 2x 4 point harnesses (RH&LH)
you will need to purchase a second eye bolt mounting kit.
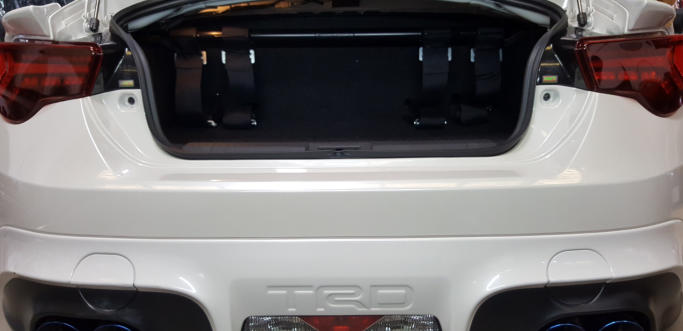
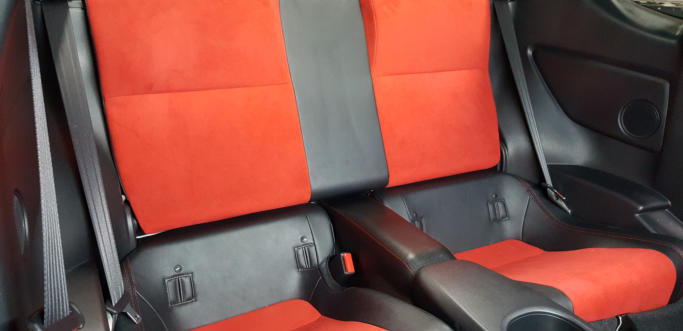
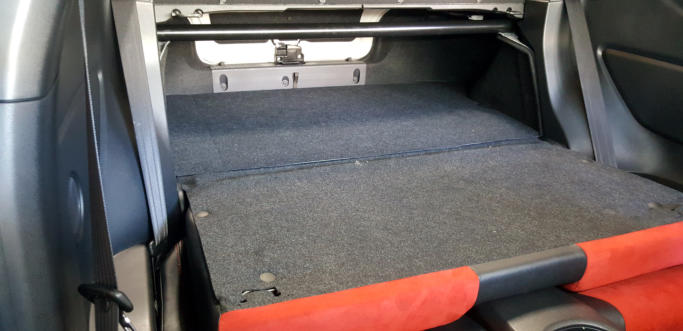
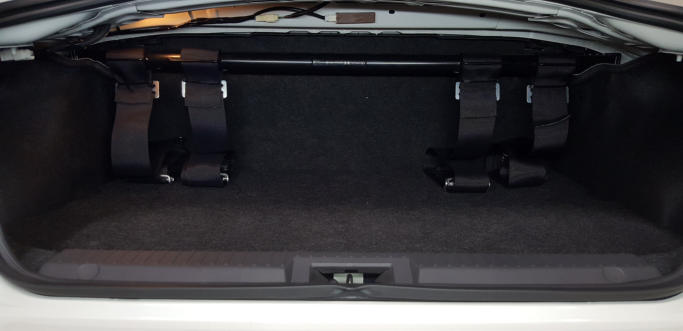
Pictured above is the completed install
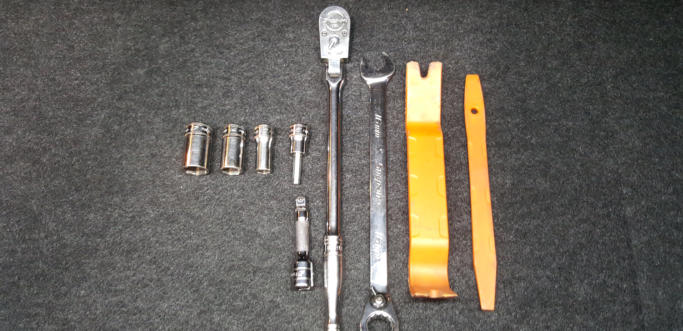
Pictured above is the tools we use when fitting these kits in-house. Tools are listed at the top of this page.
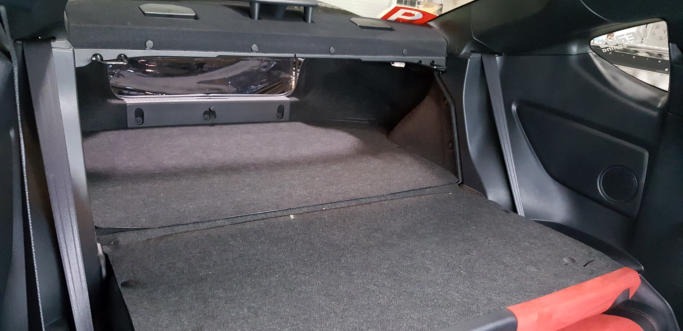

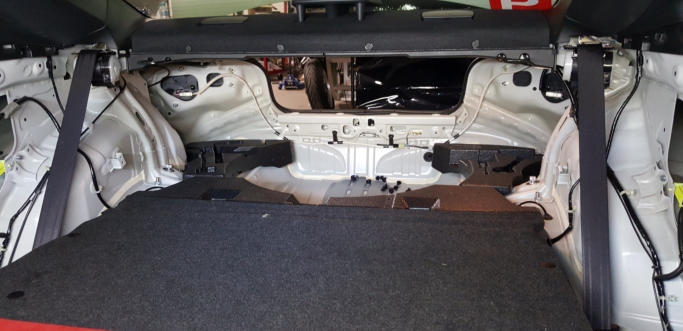


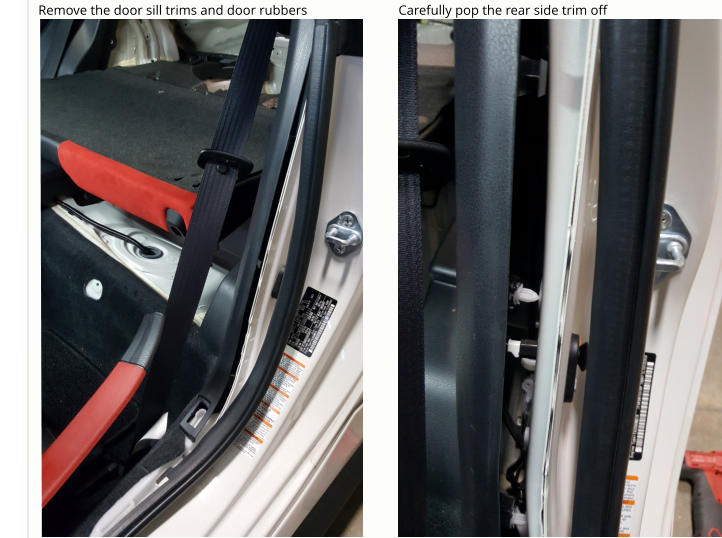
First up is removing most of the rear interior trim to get to the mounting points
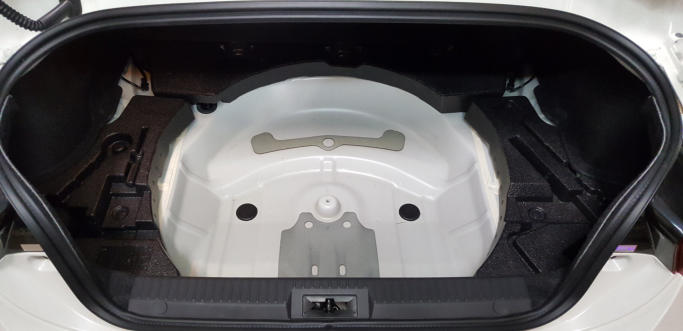
Remove the boot floor lining
Remove the boot floor lining
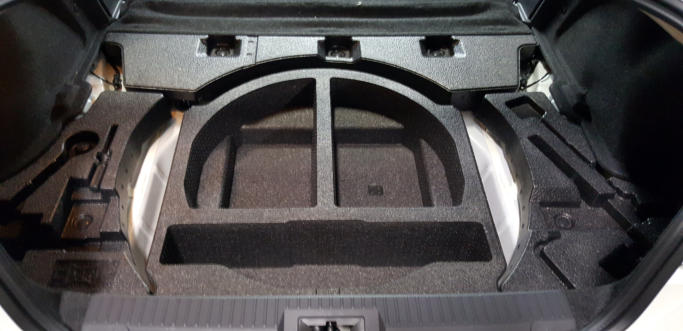
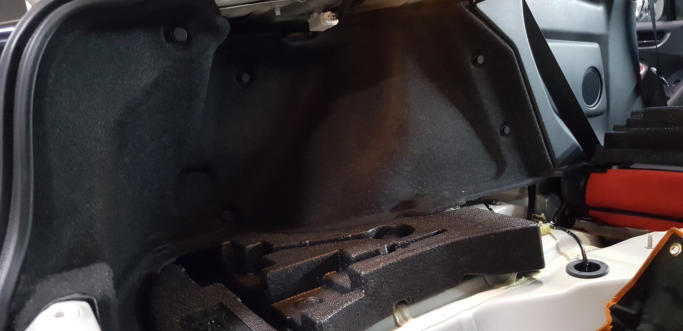
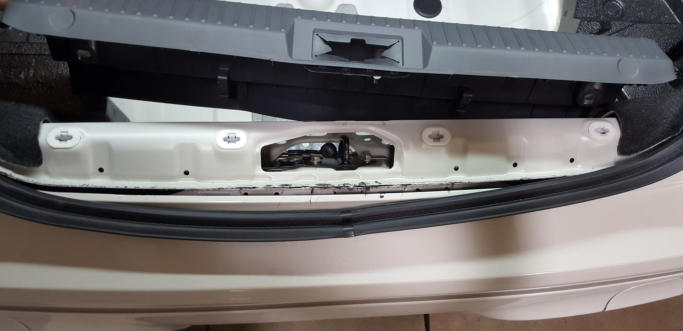
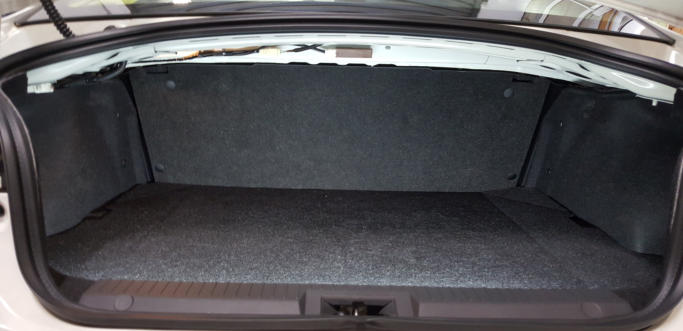
Remove the boot rear lining
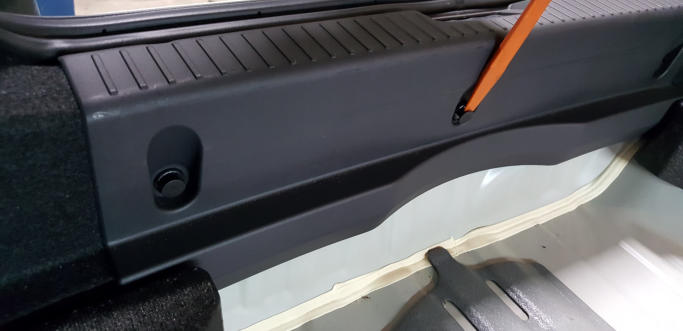
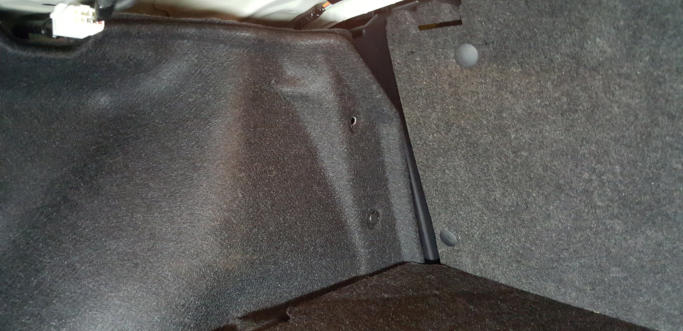
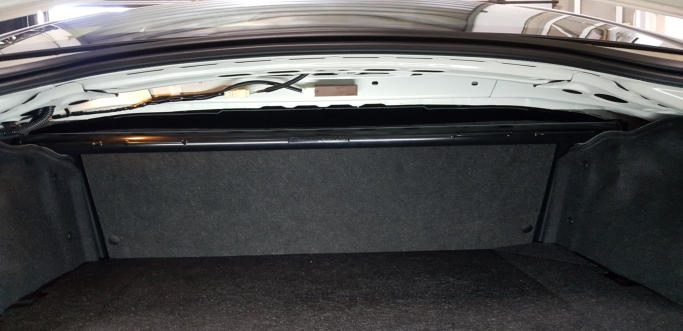
Remove the boot side lining
Remove the boot side lining
Remove the boot side lining
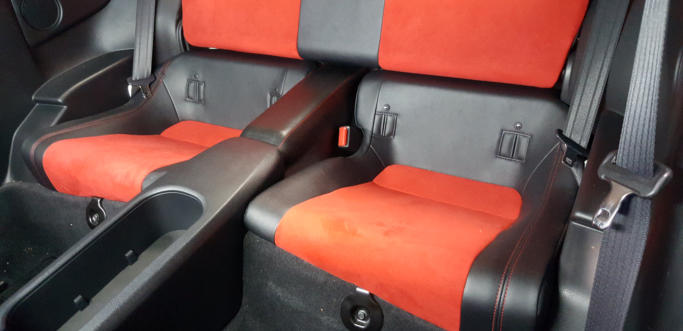
Remove the rear seat bases using a 10mm socket
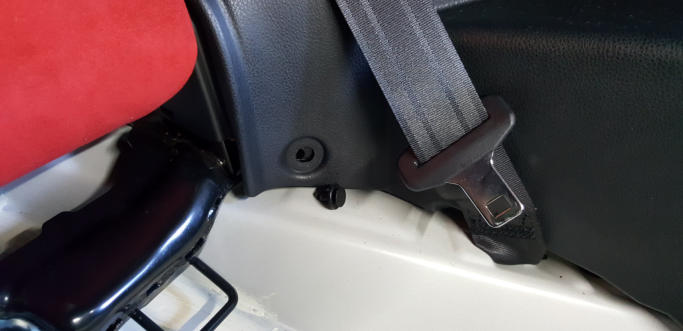
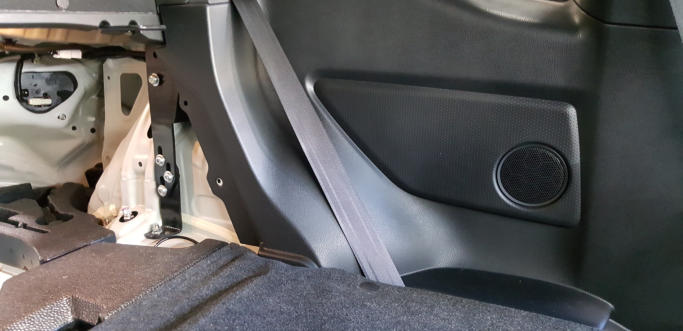
Remove the clip hidden by the seat bases that retains the rear side/quarter trims
Slowly pull the side trims away as to not break any
of the plastic clips.
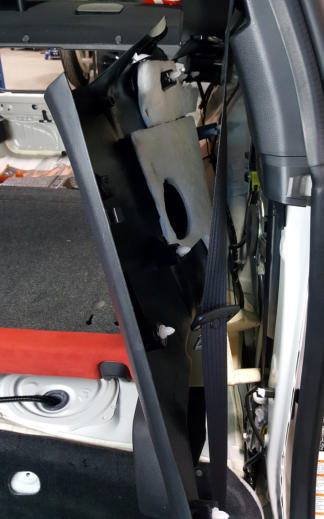
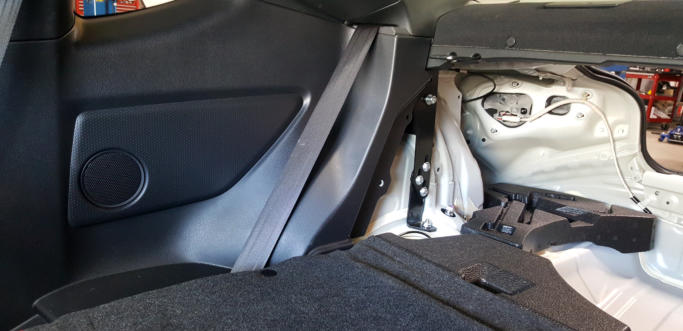
Holding the front and rear seat belts aside this
trim can be pulled forward to expose the rear seat belts.
These are the last pieces of trim to come out.
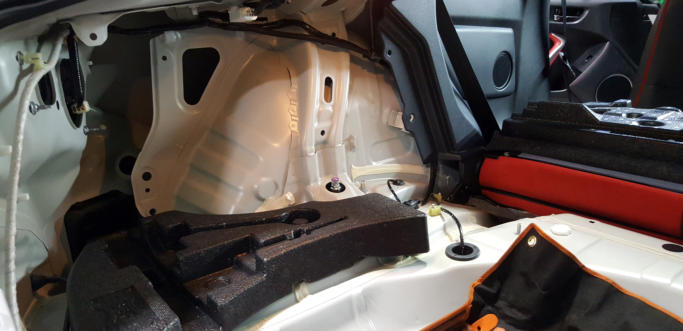
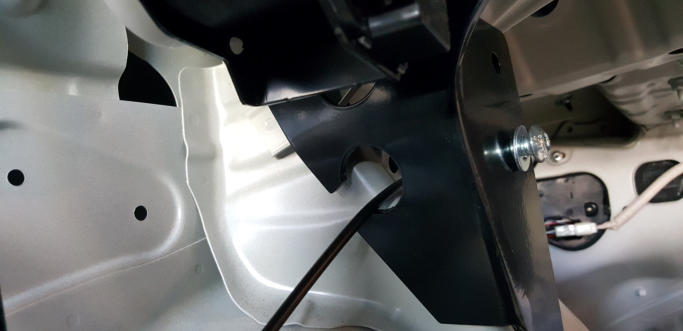
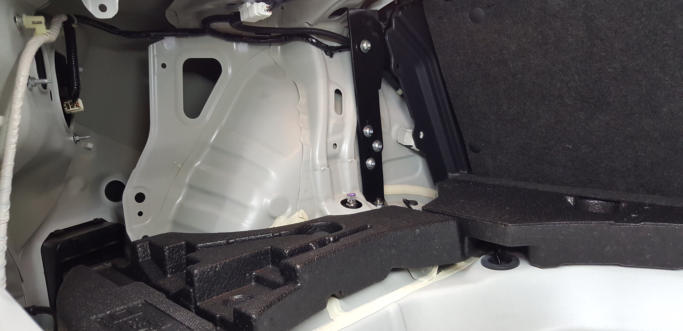
Note: We have come across a few cars that have a
small tab poking out just above the rear coil-over
retaining nuts. If your particular car (dependent on build
year) happens to have this tab, it can stop the harness
bar end plates from sliding over the coil-over studs.
If this is the case, simply push/bend the tabs flat,
so that the harness bar end plates slide into place.
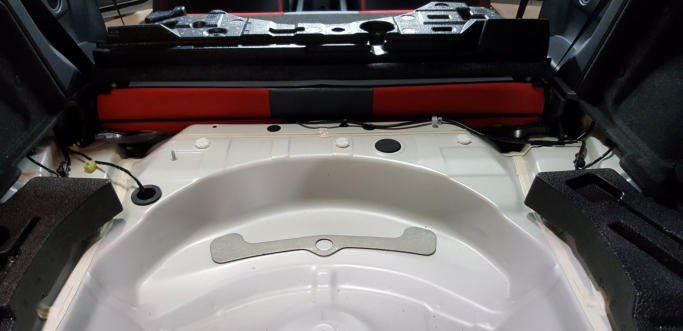
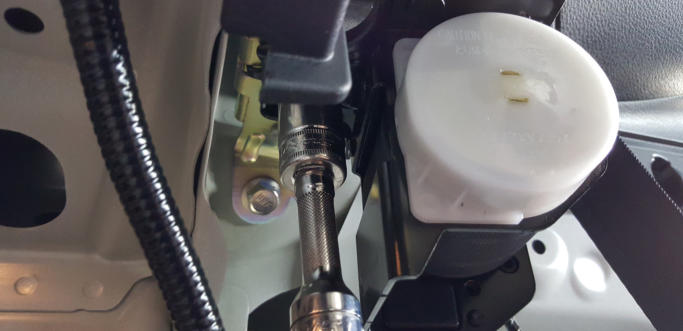
Remove the front nuts only of the rear suspension coil-overs. In some cars this tab will need to be pushed flat.


Remove the rear seat belts.
Remove the rear seat belts.
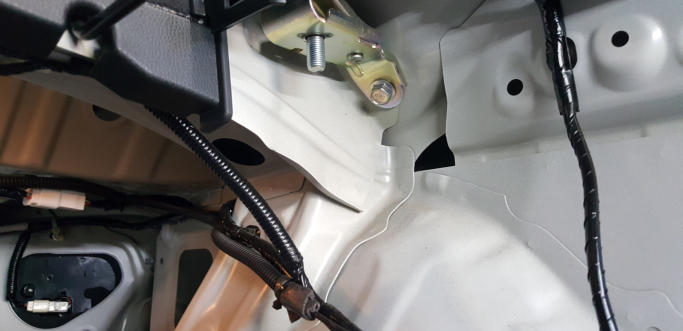
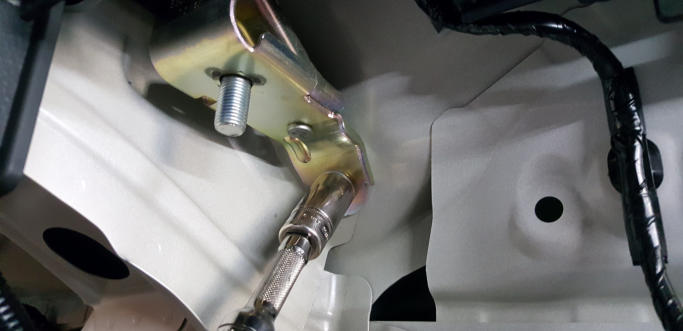
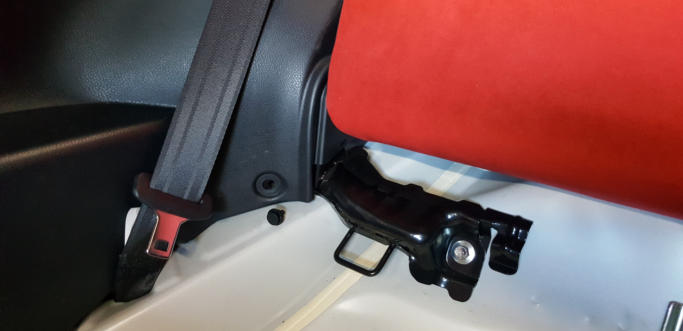
Remove the rear seat belt bracket retaining bolt
Remove the rear seat belt bracket retaining bolt
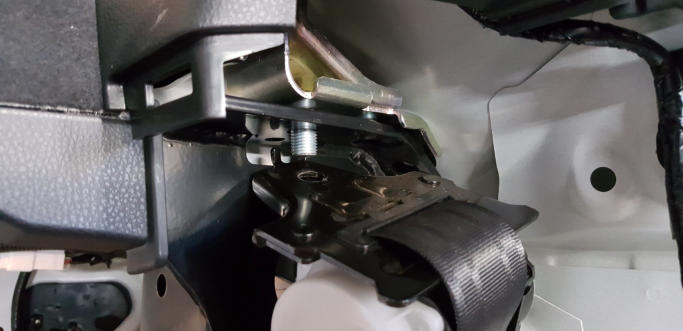
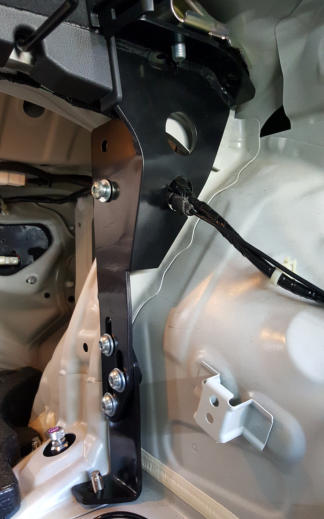
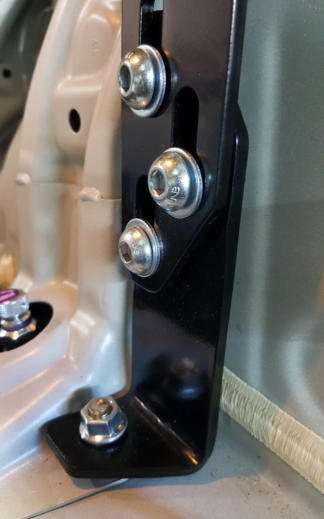
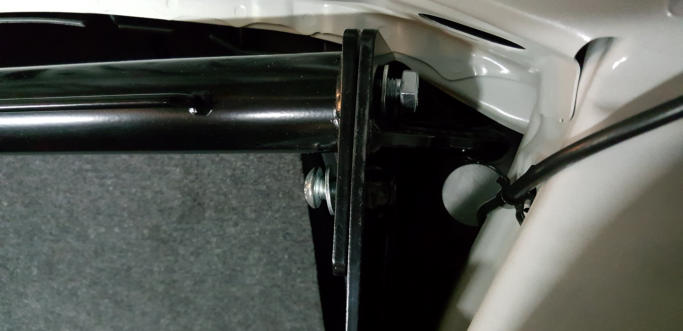
Now fit the harness bar end plates into place. Leave the 3 leg bolts loose until top & bottom bolts/nuts are tight.
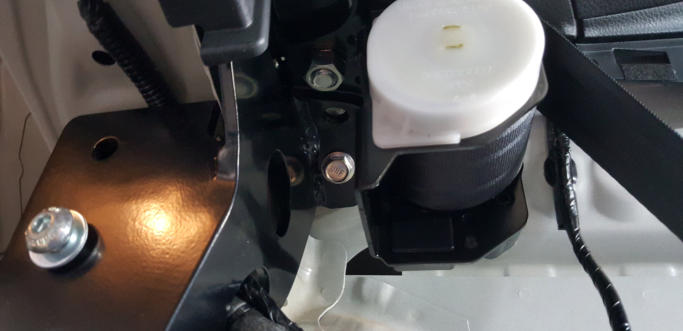
Fit the rear seat belt back into place.
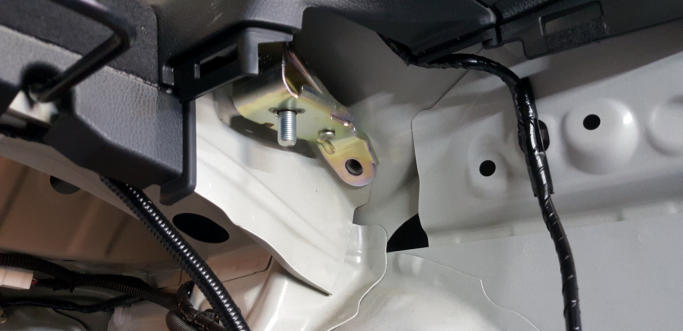
Fit and tighten the top bolts.
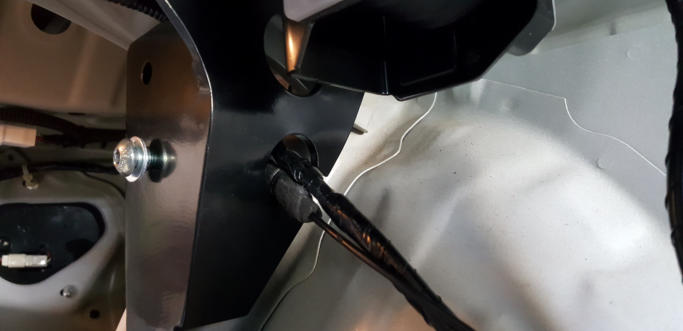
Note the cut out to clearance the wiring loom.
Note the cut out to clearance the fuel filler release cable.
Now start refitting all the interior once ALL of the bolts are tight.
Don’t forget to put this clip back in before re-fitting the rear seat bases.
Refit the rear seat bases
All the boot linings can be reinstalled.
All the boot linings can be reinstalled.
All the boot linings can be reinstalled.
All the boot linings can be reinstalled.
All the boot linings can be reinstalled.
Slide the harness bar into place, lining up the bolt holes.
Slide the harness bar into place, lining up the bolt holes. Once all the bolts are started, go ahead and tighten them.
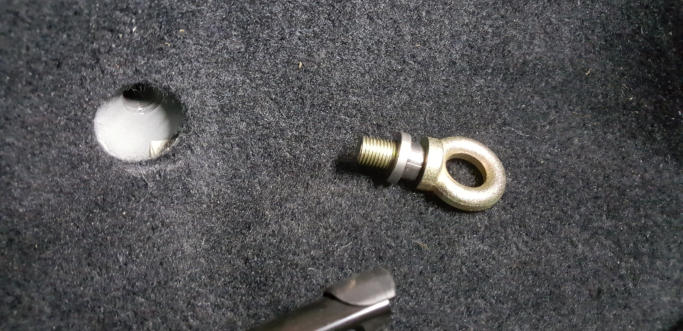
The harness bar is now fully installed. Now for the eye bolts for the lap belts.
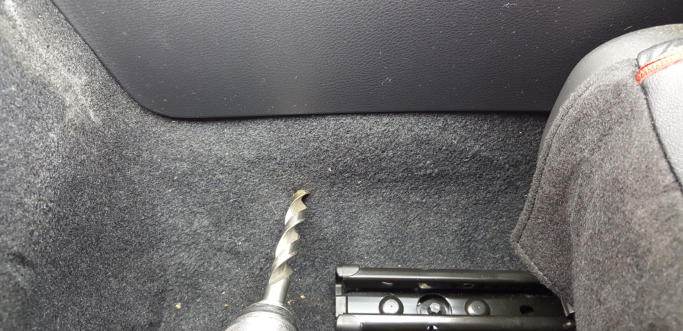
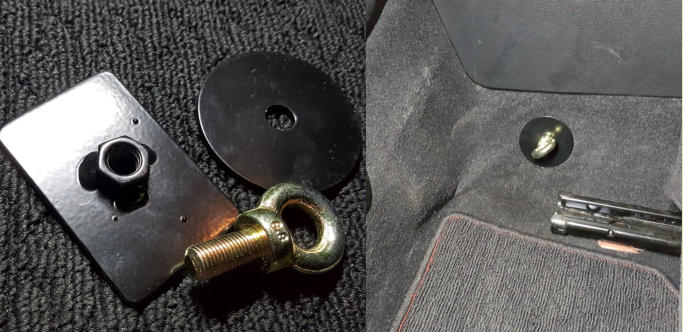
The most common way to fit the eye bolt to the tunnel is to drill a 12mm hole, but drill a pilot hole first.
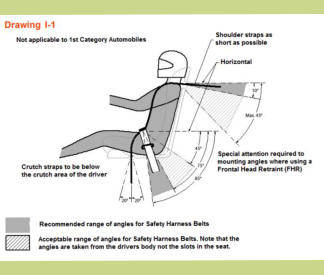
These plates are as per CAMS spec. The eye bolt comes with your new harness, but can be bought separately.
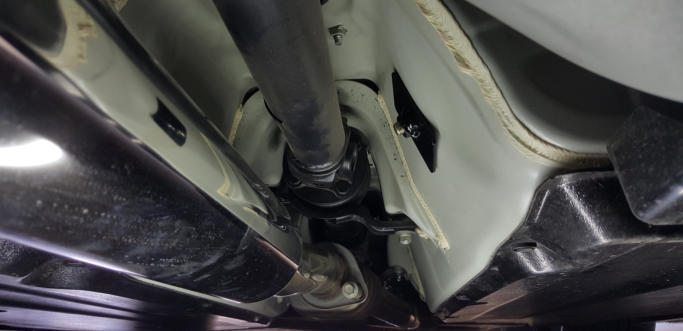
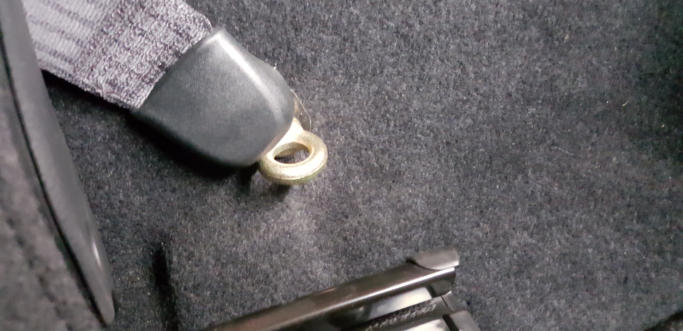
Showing the rectangle plate under the car in the tunnel.
Remove the front seat belt bolt in the sill at the base of the B pillar
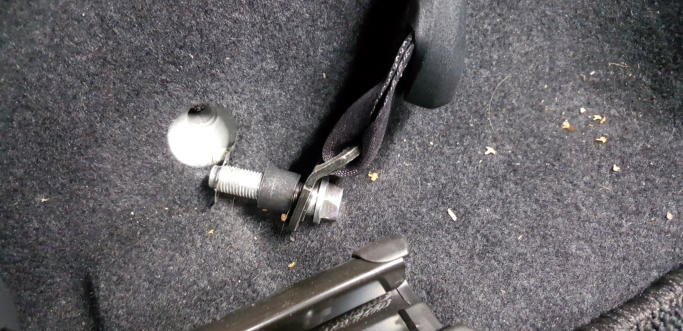
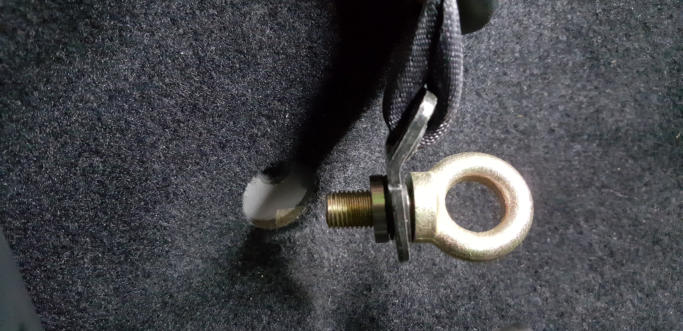
Another eye bolt with the supplied stepped spacer(stepped spacer comes in the harness bar kit)
Another eye bolt with the supplied stepped spacer(stepped spacer comes in the harness bar kit)
The stepped spacer allows the seat belt to pivot as it did with the OEM bolt.
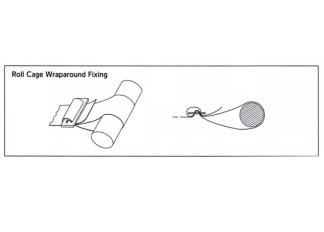
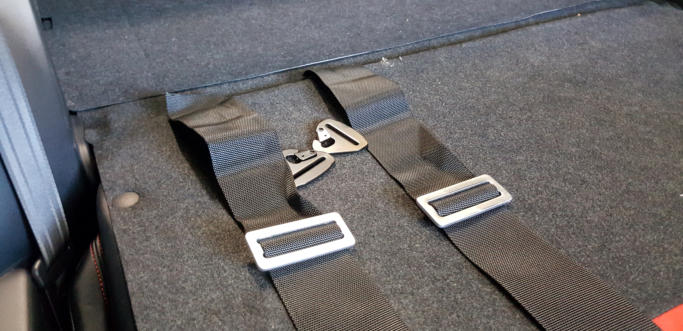
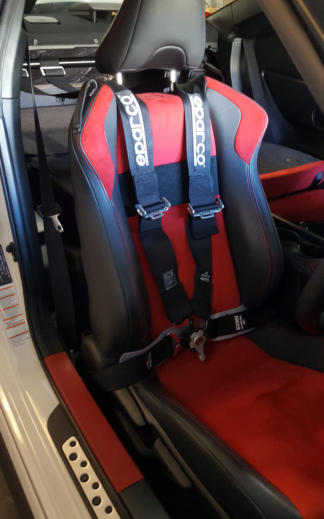
Fitting the harness to the harness bar, remove the buckles and wrap around the harness bar.
Finished install
Also available for the Toyota 86/Subaru BRZ is
the Trackart bolt in seat mount platform. Available
for both LH and RH side, this platform allows the
bolt-in mounting of a race seat while keeping the
OEM seat belt buckle. Also picking up the crotch strap
points for mounting a 6 point racing harness. So no
additional holes are required to be drilled in the floor
of your car. This seat platform also has an optional
fire extinguisher mount.
For more details, head to our seat mounting or
products pages, or hit the link below.
Toyota 86/Subaru BRZ race seat platform